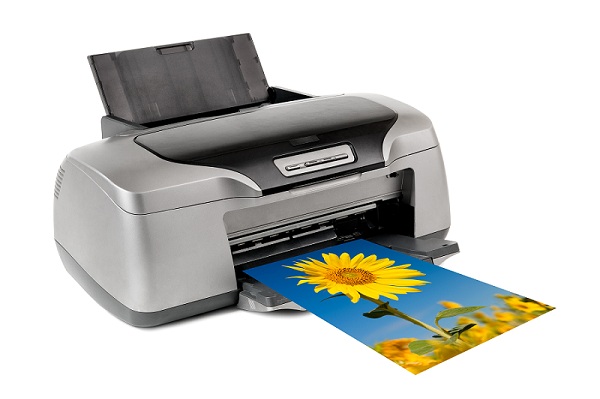
Inkjet printers are handy equipment. It certainly produces high-quality prints that are incomparable.
Due to the premium quality of prints, the ink tends to run out very quickly. You take dozens of pictures, download them and start printing, the next thing you know the cartridge is already out of ink before the task is even finished.
However, do not worry, all you need to do is buy the right refill kits and refill them properly. Without further ado, let us explore quick and easy guide to help you refill an inkjet printer, in this case, canon inkjet printers.
1. Ensure that the cartridge and reservoir is fully empty
Most of the Canon inkjet cartridges in Vancouver are electrical and display the number of characters printed. Once the count reaches 0, you will be given an error signal. This shows the printer is out of ink and needs to be refilled.
- Use the manual provided by the manufacturer to remove the cartridge.
- Once removed, check if the ink reservoir is empty.
- If it still contains ink, reinstall the cartridge back
- Continue printing until you get another error message.
If the reservoir is empty it needs to be refilled. Please move to the next section to know more.
2. Essentials You Must Know Before Refilling
In order to refill the ink cartridge, you will need a 30 cc syringe with a needle in it, a thumb drill and the ink itself.
- To protect your surface from ink spread, leaks and stains, you should place the ink container on a newspaper or towel.
- Select the ink colors appropriately for the cartridge. Suppose you are refilling the yellow cartridge, you will need the yellow ink.
- Once everything is set, press the syringe into the ink container.
3. Replacing the ink with the newer one
On the sponge area of the cartridge, you will find the ink hole. Fill the sponge with the right colored ink by squeezing a couple of drops through the hole. You should tape the exit hole to prevent the ink from leaking.
Beneath the cartridge label, use a thumb drill to drill a small hole. Then set the syringe carefully and push the ink through the hole.
Once it is filled, remove the needle and container and seal the hole with a tape, glue or wax to prevent leakage.
Don’t forget to remove the tape from the sponge area. Make sure that the cartridge is not overfilled either.
4. Reinstalling the Cartridge Back
After the ink refilling process, reinstall the cartridge and select maintenance on your printer. Always run the printer through its cleaning cycle after refilling the cartridges. Let the ink-filled cartridge settle down. Leave it inside for about 8 hours to allow the sponge to soak all the fresh new ink. After that, you are good to go.
If you are looking for Inkjet Printer refill in Vancouver at a very affordable price then call us now at 046053224 or mail us at paylesscartridge@gmail.com